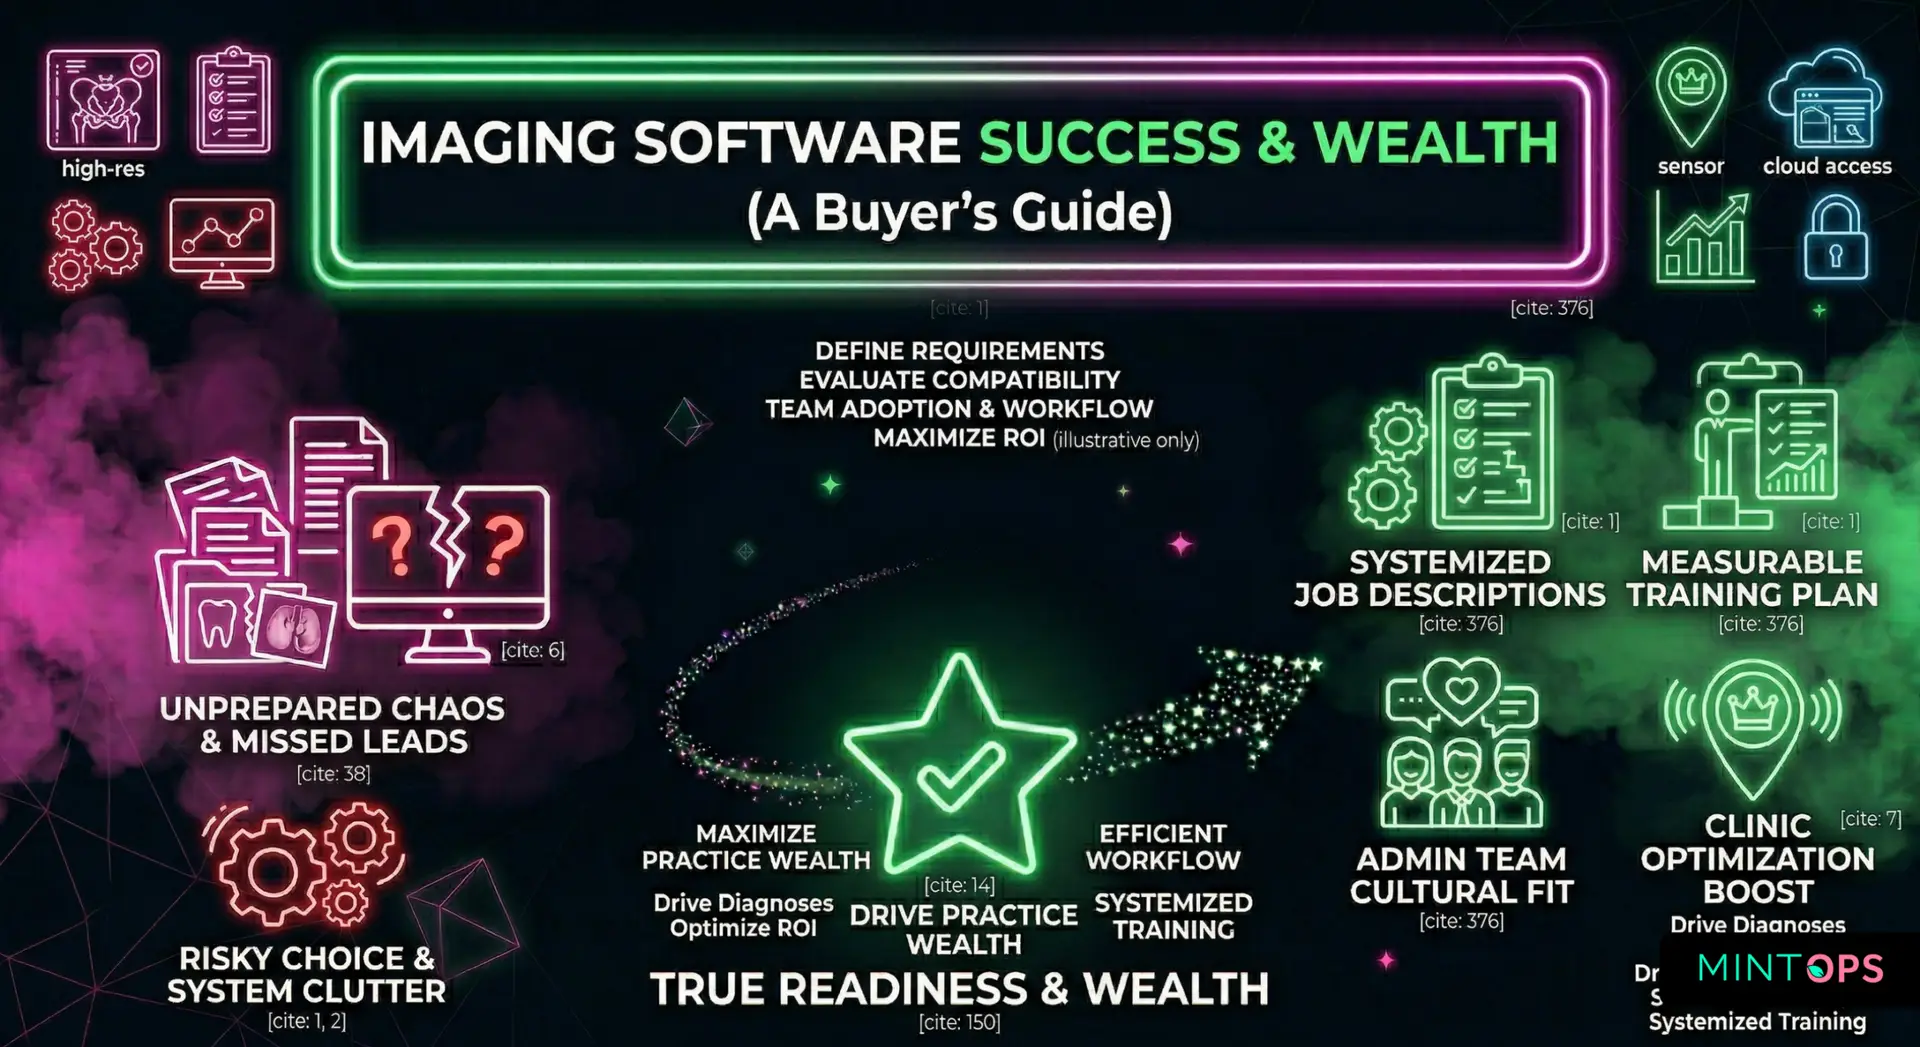
Choosing dental imaging software can feel overwhelming, especially if you’re not a tech person. This guide is written in a friendly, step-by-step way so anyone in a dental clinic—owners, office managers, assistants, hygienists, or receptionists—can understand exactly what matters and why. It explains how imaging software works, what good software should do, what to avoid, and how to compare vendors without getting lost in technical jargon.
1. What Imaging Software Really Does (In Simple Terms)?
Dental imaging software is the system you use to capture, view, organize, and store X-rays. Think of it as your clinic’s photo album, filing cabinet, and diagnostic toolbox all in one.
When it works well, staff can take a radiograph, see it instantly, compare it easily, and show it confidently to a patient. When it doesn’t, everything slows down—appointments run late, diagnoses are harder, and patients feel less informed.
2. The Core Job of Good Imaging Software
Good imaging software makes day-to-day work easier—not harder. It should:
– Load images instantly.
– Make every tool easy to find.
– Work on every workstation without a special setup.
– Keep your images safe and backed up.
– Fit naturally into your clinical workflow.
If it makes you feel like you need an IT degree to operate it, it’s not good software.
3. Understanding Digital vs Film vs Hybrid Clinics
There are three types of clinics when it comes to X-rays:
1. Fully Digital – You capture X-rays with digital sensors. Everything happens electronically.
2. Film-Only – You take analog X-rays and scan or store them later.
3. Hybrid – You use digital sensors for routine X-rays but still take film occasionally.
Each type has unique needs:
– Digital clinics need speed, good templates, easy workflow, and cloud access.
– Film-only clinics need simple, reliable tools for scanning and storing film images so they don’t get lost or damaged.
– Hybrid clinics need flexibility—they should be able to mix film scans and digital images in one organized patient record.
4. Why Image Quality Matters (Even If You’re Not a Dentist)
Clear, high-quality X-rays help diagnose problems earlier—cavities, infections, bone loss, fractures. If the software blurs images or slows down when zooming in, it affects clinical accuracy.
Good software should allow you to:
– Zoom in closely without pixelation.
– Adjust brightness or contrast easily.
– Highlight areas with arrows or notes.
– Compare one X-ray to another quickly.
If a clinician struggles to see details, the patient may struggle to trust the diagnosis.
5. Workflow: The Most Important Part No One Talks About
Speed and simplicity impact your entire day. Workflow determines how many steps it takes to:
– Capture an image
– Mount a full mouth series
– Correct a mis-mounted image
– Export or share images
– Switch from FMX to bitewings to panoramic views
If each task requires 5–7 clicks, it adds minutes to every appointment. Over a year, that becomes hours of wasted time.
6. Templates, Tooth Mapping, and Mounting
Templates are the grids or layouts your X-rays sit in—bitewings, FMX, panoramic placeholders. Your imaging software should:
– Have accurate pre-loaded templates
– Allow customizable templates
– Automatically place images into the correct slot
– Let you drag an image to the correct position in one movement
This matters because mis-mounted images confuse clinicians and create documentation risks.
7. Hardware Compatibility: Sensors, Scanners, and More
If you use digital sensors, your software must talk to them reliably. If you use a phosphor plate scanner, the system must import and categorize the scans neatly.
The key questions:
– Does the software work with your current sensors?
– Does it support TWAIN drivers (the universal language for importing images)?
– Does it support multiple brands of sensors in one clinic?
– Does it work smoothly on your Windows computers?
8. Cloud vs. Local: What’s Right for Your Clinic?
Cloud systems run in a web browser and store data securely offsite. Local systems store data on your server.
Cloud benefits:
– No server maintenance
– Automatic backups
– Access from any workstation
– Easy remote review by dentists
Local benefits:
– No dependency on internet
– Often faster on very old hardware
Hybrid systems give you the best of both: cloud storage with local caching for speed.
9. Security, Compliance, and Patient Privacy
Your X-rays are part of your legal patient record. They must be stored securely and compliantly. Look for:
– Encryption during storage and transmission
– Role-based permissions
– Audit logs showing who viewed or edited images
– Clear data ownership policies
Compliance is important—even if you don’t think about it daily.
10. AI for X-rays: What You Need to Know
AI tools can highlight potential decay, bone loss, fractures, and other issues. They’re helpful assistants but not replacements for a dentist.
When evaluating AI features:
– Make sure the AI is a Health Canada–approved medical device.
– Ensure the software lets you choose or change AI providers.
– Avoid systems that force you into one AI brand forever.
– Look for overlays, not hard edits (AI should never modify the original image).
AI can improve patient understanding—but only when it’s implemented safely.
11. Support, Training, and Vendor Stability
Even the best software needs support once in a while.
When evaluating vendors, ask:
– How fast is their support team?
– Do they offer free onboarding?
– Do they have training videos and guides?
– What’s their update schedule?
A great product with poor support becomes a bad investment quickly.
12. Total Cost of Ownership (TCO)
The sticker price is only the beginning. Consider:
– Subscription fees
– Extra costs per workstation
– Storage fees (for cloud systems)
– Training and onboarding fees
– IT support or maintenance for local systems
A cheap system that wastes your staff’s time is more expensive in the long run.
13. How to Test Imaging Software During a Demo
Never let a salesperson drive the mouse the whole time. Always test real workflows yourself.
Try these tasks:
– Importing a full FMX
– Re-mounting an incorrect image
– Adding an annotation
– Comparing two images
– Exporting an image for referral
If anything takes too many steps, note it down.
14. Questions to Ask Vendors
1. How do you handle hybrid film/digital workflows?
2. Does your software support multiple sensor brands?
3. Is your AI Health Canada–approved?
4. How is data backed up?
5. What is your average support response time?
6. Can I export all my images if I ever switch systems?
7. Do images load instantly on Windows machines?
15. Final Evaluation Score
Score each category from 1–5:
– Image Quality
– Workflow Speed
– Ease of Use
– Template Accuracy
– Hardware Compatibility
– Cloud or Local Fit
– Security and Compliance
– AI Flexibility
– Vendor Support
– Total Cost
A strong system should score 40 or higher.
Comments are closed